


Monitor Arms
Upgrade your screen setup with a monitor arm that clears clutter and improves your posture in one go.
Shop now »

Get sales advice from our team 7 days a week
0871 244 0934Standard monitor stands often take up a lot of room. They sit right where you want to put your keyboard, phone, or notepad. By moving to a monitor arm, you lift the screen off the surface, creating a "floating" look that instantly makes your workspace feel bigger. It is the quickest way to achieve that minimalist setup you see on social media. Beyond the looks, it is better for your health. You can adjust the height and angle to suit your seating position, helping to reduce neck strain during long days at the PC.
Before you buy an arm, you need to check if your screen is ready for it. Most modern monitors use a standard called VESA.
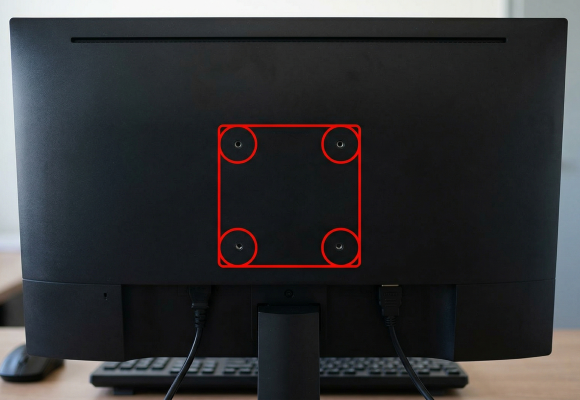
Look at the back of your monitor for four screw holes in a square or rectangular pattern.

Measure the distance between the holes. The most common sizes are 75mm x 75mm or 100mm x 100mm.
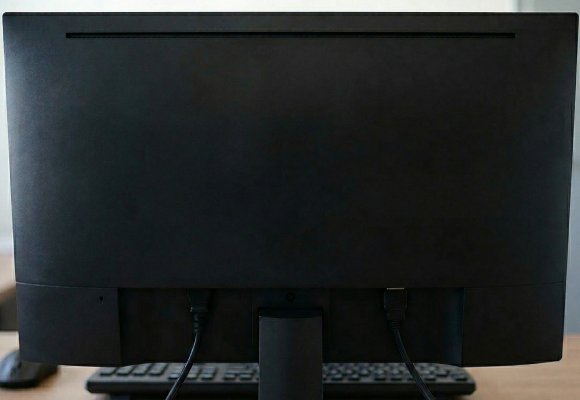
If your monitor has a smooth back with no holes, you might need a VESA adapter kit, or it may not be compatible with standard arms.
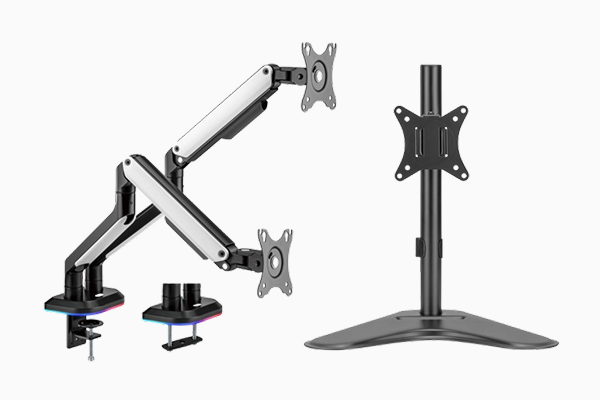
There are two main ways to fix an arm to your desk:
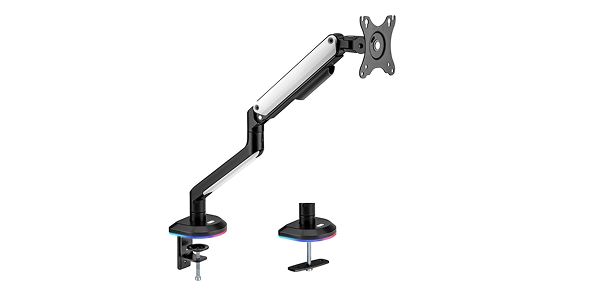
Gemini said The C-Clamp is the go-to choice for renters and those with high-end furniture because it is completely non-destructive. It uses a manual screw mechanism to create a "vice" grip on the edge of your desk, making it easy to install or move in seconds.

This stand sits directly on your desk surface. It requires no drilling or tools to set up. You can move your monitor anywhere at any time. While it uses more desk space, many designs are slim and low-profile. It is the most flexible choice for a quick and easy setup.
Follow these steps:
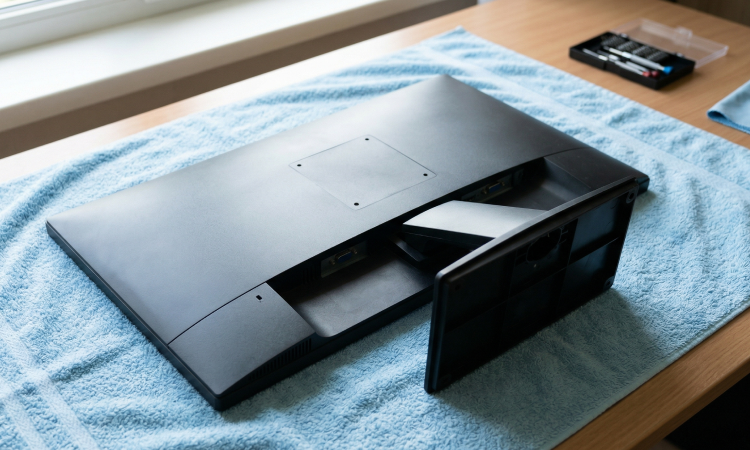
Give yourself plenty of room to work and lay your monitor face down on a soft surface, like a towel, to avoid scratches.
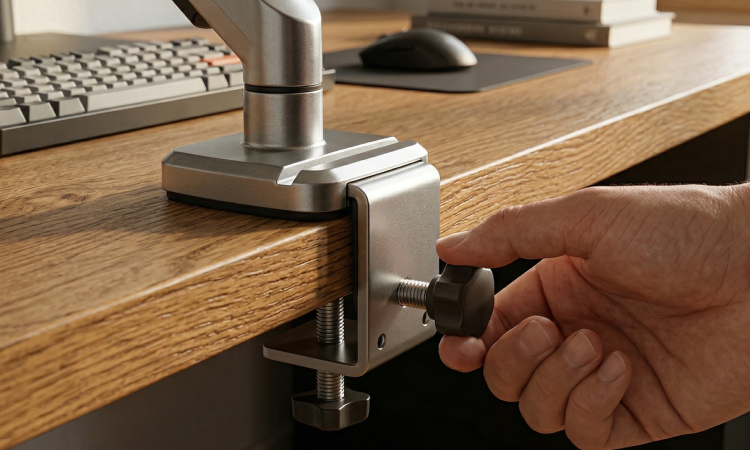
Secure the base of the arm to your desk using the clamp or grommet. Make sure it is tight and does not wobble.
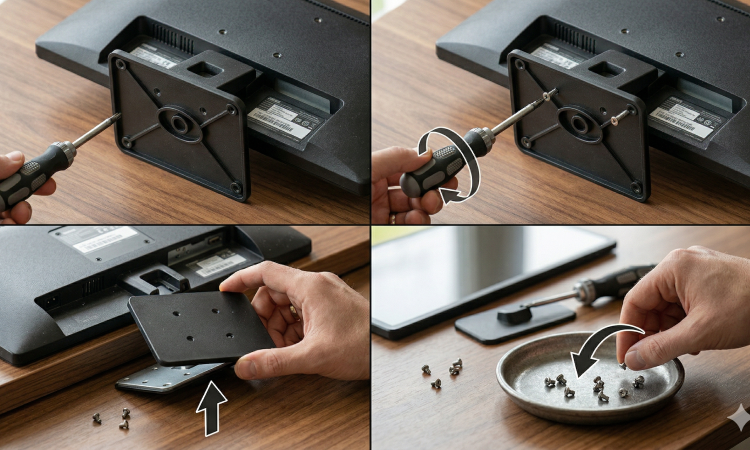
Take off the original plastic base. Keep the screws safe in case you want to use them again later.
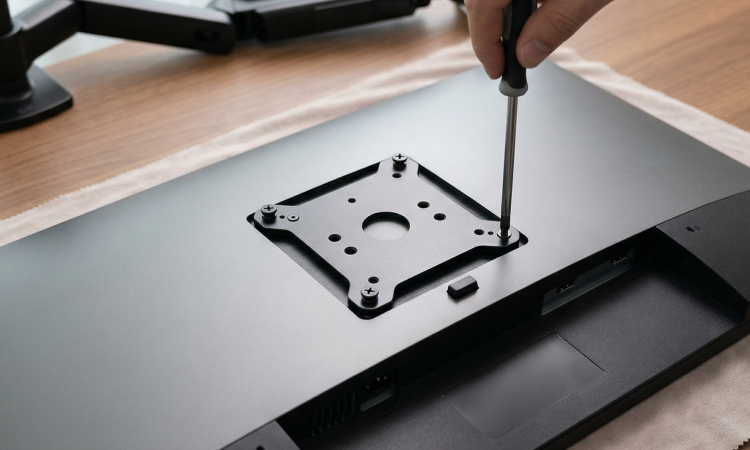
Most arms have a removable plate. Screw this onto the back of your monitor first.
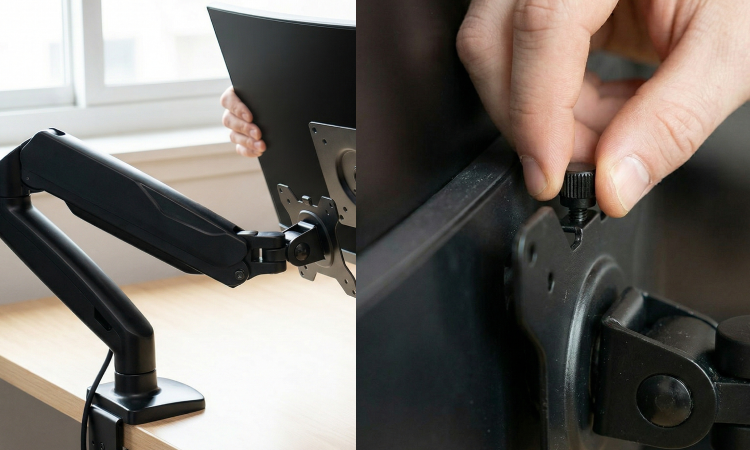
Lift the monitor and slide the plate into the arm mechanism. You will usually hear a click or have a thumb-screw to lock it in place.
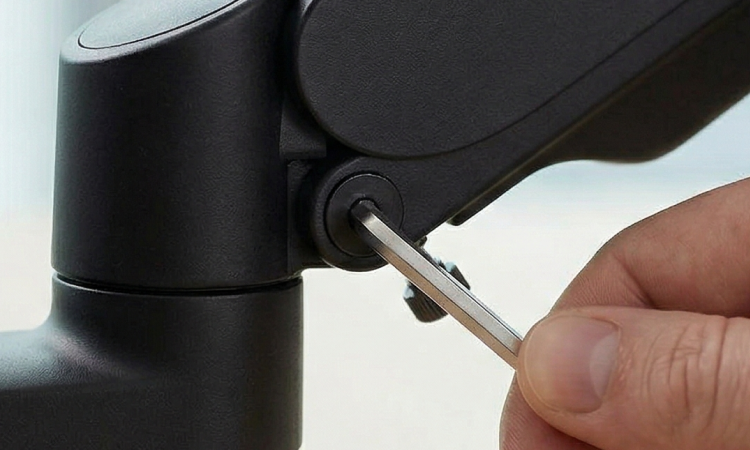
Use the included Allen key to tighten or loosen the spring in the arm. You want the monitor to stay exactly where you move it without sagging.
Upgrade your screen setup with a monitor arm that clears clutter and improves your posture in one go.
Shop now »